
· InkMentors
One Style, Many Techniques: Match the Approach to the Piece
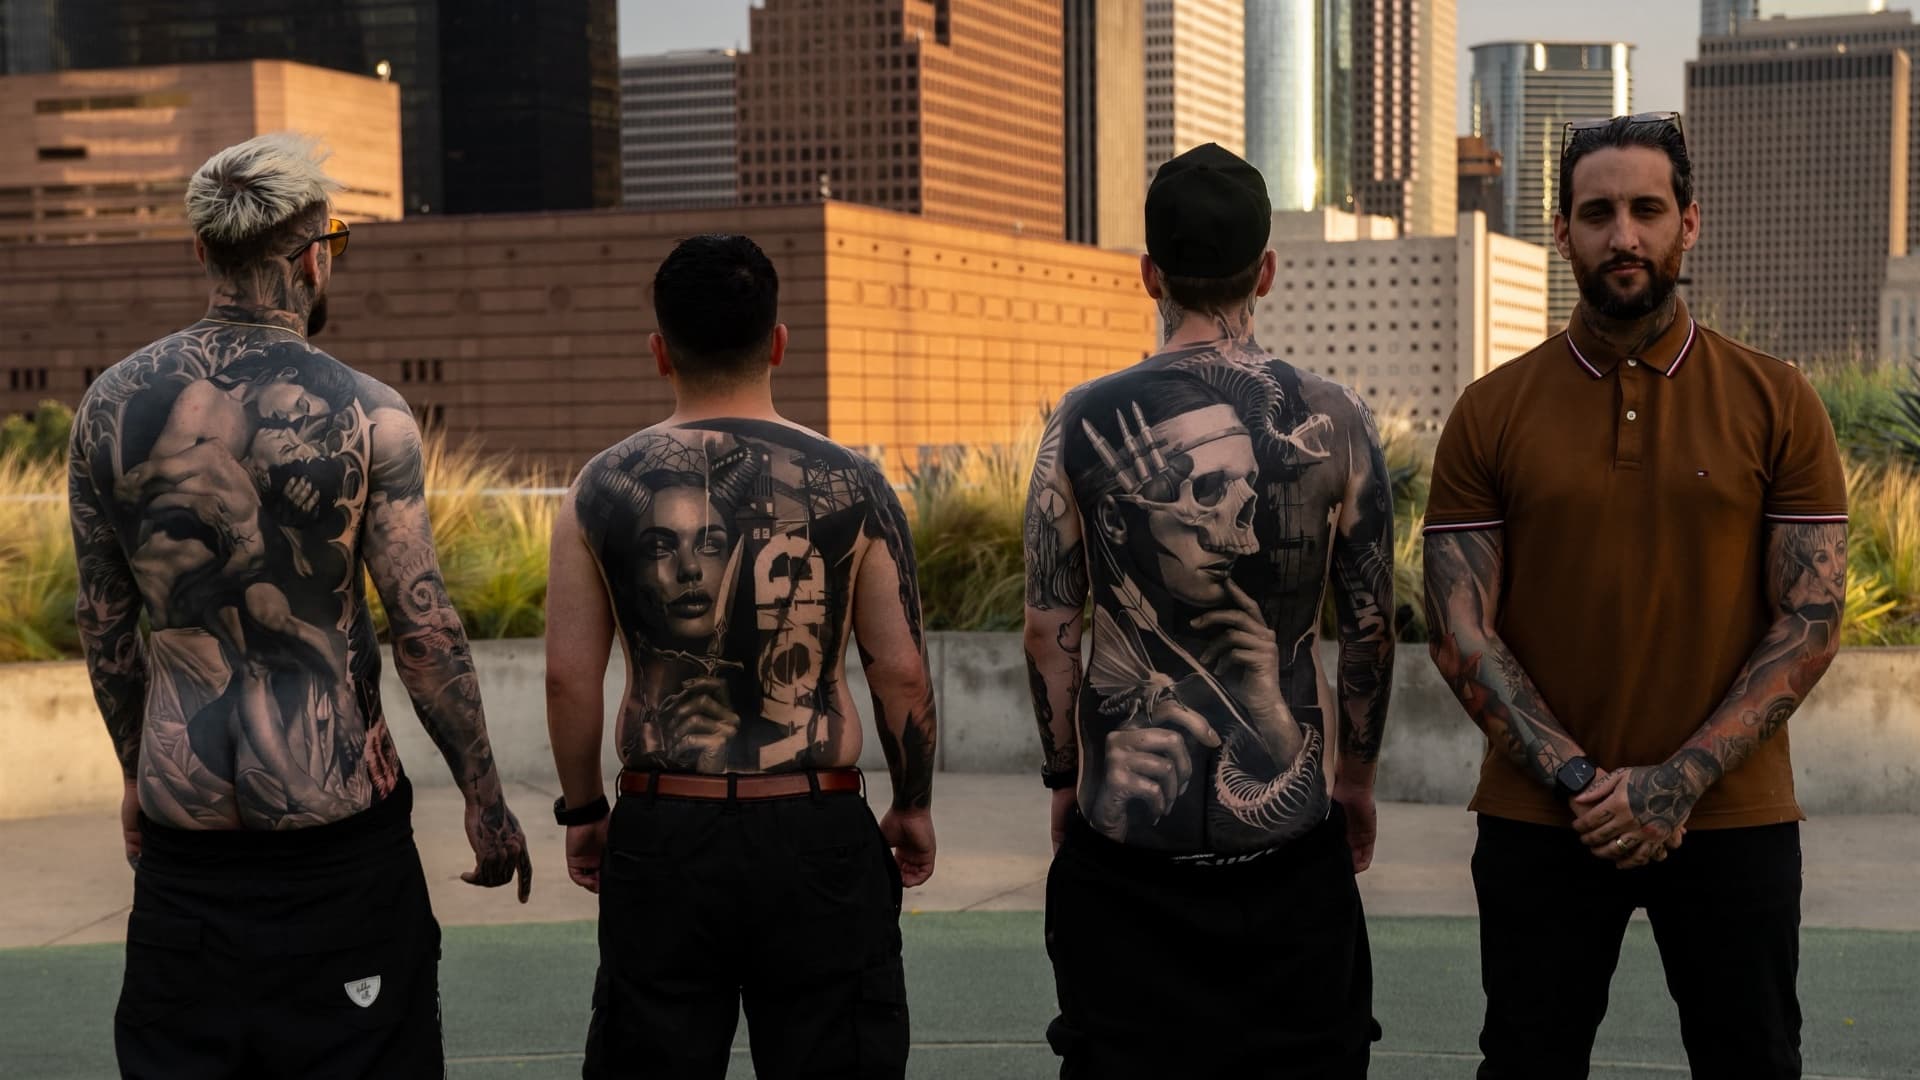
Most artists find one shading style that works, then use it on everything. A small piece of script, a full back piece, a soft portrait, all with the same approach. It feels safe, and it is exactly why the results are inconsistent. Some pieces heal beautifully, others go patchy or flat, and it starts to look like luck.
It is not luck.
Here is the fastest way to see it. Fábio Guerreiro shades most of his work with a 2.8mm stroke, because it hits more often with less force and lets him build a tone without wrecking the skin. Big Dave will not go near a low stroke. He runs 5.0, and says that when he tried a lower one the healed result came out too smooth, which is not the finish he wants.
They are describing the same setting in opposite terms. Neither of them is wrong.
Fábio is laying soft, saturated shadow. Big Dave is landing a dot that has to still be sharp in ten years. Different jobs, different tools.
And it is not only between artists. Fábio switches on himself: 2.8mm for shading, 3.7mm for blacks and lines, and in his 3RL course he tells you to run 4mm to 6mm, because on a lighter stroke the texture looks right on the fresh tattoo and then disappears once it heals.
One artist. Three strokes. Because he is doing three different things.
That is the whole idea. Here is how the toolkit actually breaks down, and when to reach for each tool.
3RL Whip Shading: texture that survives healing
The technique runs on one needle type, the 3RL. What almost nobody outside the course realises is that a 3RL is not a single needle, and the artists whose texture you admire are quietly working with more than one of them. The dot also has to hit hard enough to still be there in a year, which is why the stroke goes up rather than down.
Reach for it when you want the texture to be visible. A dotted, textured shadow that reads at close range.
Know the cost. Fábio does not use it on everything, and he is blunt about why: he works large scale, and covering that much skin one dot at a time takes far too long. So he pulled out the part that produces saturated, high contrast shadow and folded it into his main technique.
It is also unforgiving. Go too dark on a light tone and it cannot be corrected. Find an under-saturated patch and you repair it dot by dot, never with another pass, because a second rake leaves a mark you cannot fix.
The full 3RL Whip Shading breakdown is here.
Mastering Shadows: soft, saturated, built in layers
This is the magnum work: a dilution Fábio mixes himself, four tones set by percentage of ink rather than counted drops (5, 20, 40 and 80, plus pure black), and two movements. Backwards only, when you cannot afford to go too dark. Pendulum, when you can, for double the passes.
Then the X. Shade in one direction, cross it in the opposite one, and the needle texture disappears.
Reach for it when the piece calls for shadow that reads smooth instead of textured, and for anything large, where his puzzle method (build one saturated area with a soft opening all around it, then fit the next piece into that opening) beats fighting skin tension with an oversized magnum.
It is not the fast option. What makes it heal saturated is patience: bleeding skin pushes your pigment back out along with the blood, so you leave that area to calm, work another one, and come back for a second pass on rested skin. The second pass is the one that holds.
The full Mastering Shadows breakdown is here.
Hyperrealism: when the piece needs chrome, not grey
José Manoel is the clearest case of matching the tool to the goal, because he throws out the obvious tool. He never mixes a grey tone. He blocks in pure black, shades it, then lays white straight over the top, and the grey is what happens where they meet.
He also pulls several tones out of one dilution by changing needles. A bigger magnum lays more pigment but saturates less, so it reads softer. Same ink, smaller needle, darker result. Slow hand saturates, fast hand softens.
And his whip shading is not Fábio's. Drop the voltage, move the hand fast, let the needle snag and jump. That is not shadow. That is pores.
Reach for it when the piece is about reflection and texture: chrome, metal, weathered skin, a portrait that has to hold up close.
The full Hyperrealism breakdown is here.
Dotwork: when a dot has to stay a dot
Big Dave gives the sharpest example in the whole toolkit, because his is a refusal.
You can drop the voltage and whip shade a mandala section. Plenty of people do. He tried it and threw it out, because it reads as shading, not dotwork. So he builds it dot by dot at 8 volts, layer by layer, until the section goes opaque.
His voltage map is a technique map: 9 for lines, because the needle is heavy. 8 for dots. 6 for whip shading, so he can layer without wrecking the skin. Same machine, same session, three settings, because three different jobs.
Reach for it when the geometry is the point. And remember the other half of his rule: leave the skin alone. Overfill a section and it heals faded and flat. The empty skin is part of the tattoo.
The full Dotwork breakdown is here.
Mapping: for pieces that have to last a lifetime
Some tattoos are not about the photo on day one. They are about how the piece looks in ten or fifteen years. Mapping is the choice when longevity is the priority: less trauma, better healing, and superior aging over time. That makes it ideal for large projects the client will carry for life.
Fábio introduces it in the advanced module of the Revolution Tattoo Workshop, where he treats it as a "pre-retouch": a first pass that maps the tones, three weeks to heal, then a second pass that doubles the ink so the detail survives for years. That introduction is part of what takes Revolution from beginner to pro. A dedicated InkMentors Mapping course goes deeper into it and is being recorded now, so keep it on your radar.
Smooth Saturation: for the showpiece
Then there is the piece you want people to stop scrolling and zoom in on. Smooth Saturation is the softest, most patient technique in the kit, built for maximum realism. It asks for time and focus, so it is not the tool for a quick job. It is the tool for the artwork-level piece where the finish is the whole point.
How to choose
You do not need to overthink it in the chair. Before you start, run a short mental checklist.
- What has to survive? If the answer is texture, the stroke goes up and the dot has to land hard. If the answer is a smooth gradient, the stroke comes down and you build it in layers.
- How much skin? Large and open rules out anything applied one dot at a time. Not because it would look wrong, but because it would take too long. Fábio makes that exact call on his own work.
- Texture or reflection? Texture is whip shading and dotwork. Reflection is black against white, with nothing mixed in between.
- Longevity: if it has to age well for decades, weight toward mapping.
- Your skill right now: pick the technique you can execute cleanly today, and build the others on purpose.
The goal is not to master a hundred tricks. It is to carry a small, intentional toolkit and know exactly when to reach for each tool. That judgment is what separates a technician from an artist.
Build the full toolkit
None of these techniques compete with each other. They cover different jobs, and together they make you the artist who has an answer for any piece. That is how we teach them at InkMentors: as one connected method, not isolated tricks. If you want to start with the finish that turns heads, the deep dive on Smooth Saturation is a strong first step, and the rest of the toolkit is right there beside it.
Reader exclusive
Consider this a gift
Good for 10% off any course or design tool, whenever you feel ready.
Browse coursesGet new posts in your inbox
Join the newsletter for fresh tutorials, free resources and studio-tested technique. No spam, unsubscribe anytime.